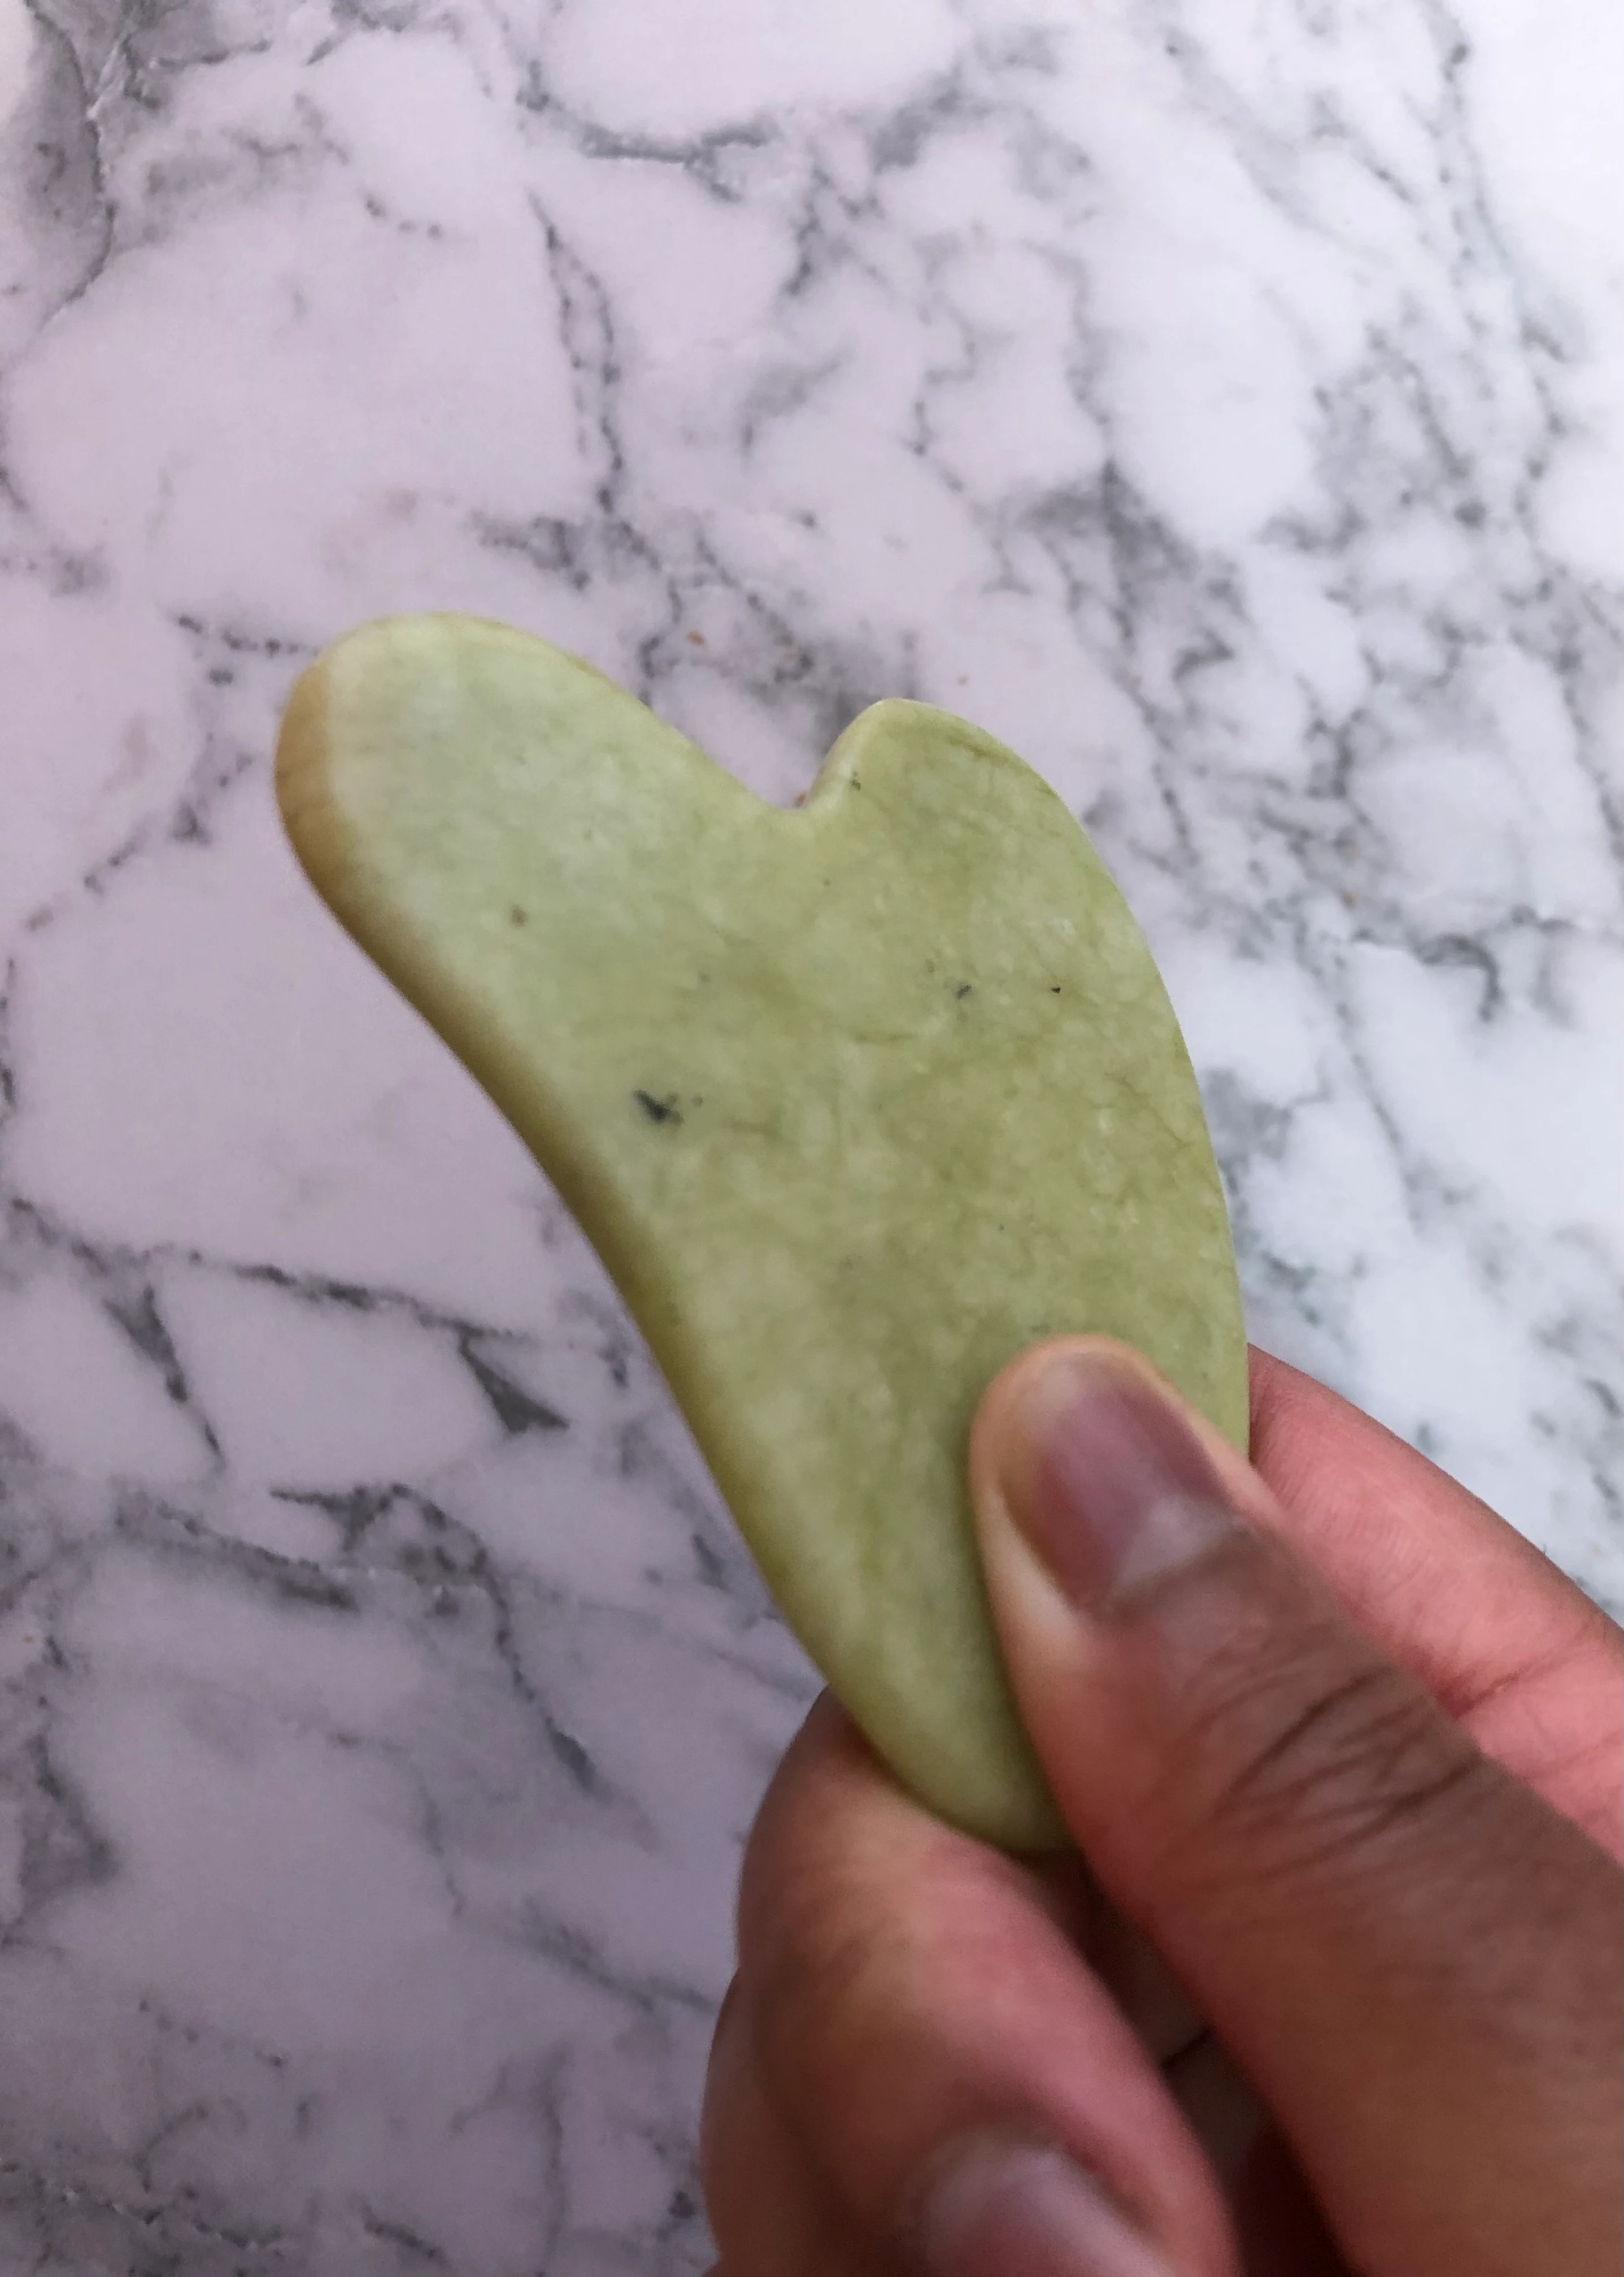
GUA SHA TUTORIAL
Our step-by-step tutorial on how to use a gua sha for facial massage effectively.
What You’ll Need
• Gua sha tool
• Facial oil or moisturizer (to reduce friction)
• Clean face and hands
Step 1: Prep Your Skin
1. Cleanse: Start with a clean face to avoid pushing dirt or bacteria into your skin.
2. Apply Facial Oil: Apply a generous amount of facial oil, serum, or moisturizer to help the gua sha glide smoothly across your skin.
Step 2: Hold the Gua Sha Tool Properly
• Hold the gua sha at about a 15-30° angle to your face. It should lie almost flat against your skin to avoid tugging.
Step 3: Start Massaging (Use Light Pressure)
1. Neck
• Purpose: Prepares lymphatic drainage pathways.
• Start at the base of your neck, gently glide upward to your jawline. Repeat 5-10 times on each side.
2. Jawline
• Place the gua sha in the notch of the tool (if it has one).
• Start from the center of your chin and glide outward along your jawline to your ear. Repeat 5-10 times on each side.
3. Cheeks
• Use the flat edge of the gua sha.
• Start at the side of your nose and glide outward across your cheekbones toward your hairline. Repeat 5-10 times on each side.
4. Under-Eyes
• Use the smaller edge.
• Start at the inner corner of your eye and glide gently outward toward your temple. The pressure should be very light. Repeat 5-10 times on each side.
5. Forehead
• Use the flat edge.
• Start at the middle of your forehead and glide outward toward your temples. Repeat 5-10 times.
• Then, glide upward from your eyebrows to your hairline.
6. Nose
• Use a smaller edge if available.
• Glide upward from the tip of your nose to between your eyebrows.
Step 4: Clean Your Gua Sha Tool
• Wash the tool with warm soapy water after each use to prevent bacteria buildup.
Tips for Best Results
• Use the gua sha 3-4 times a week for visible improvements.
• Be gentle; gua sha should not hurt or bruise your skin.
• Always work in upward and outward strokes to promote lifting and lymphatic drainage.
Enjoy your gua sha session aka girl therapy!

No comments
Post a Comment